Edit 1
Edit 2 - Custom Handwriting
This tutorial provides a step-by-step guide on how to create your own handwriting font.
Updated 4 months ago
This tutorial provides a step-by-step guide on how to create your own handwriting font.
Begin by navigating to the appropriate section and clicking on Create Handwriting.
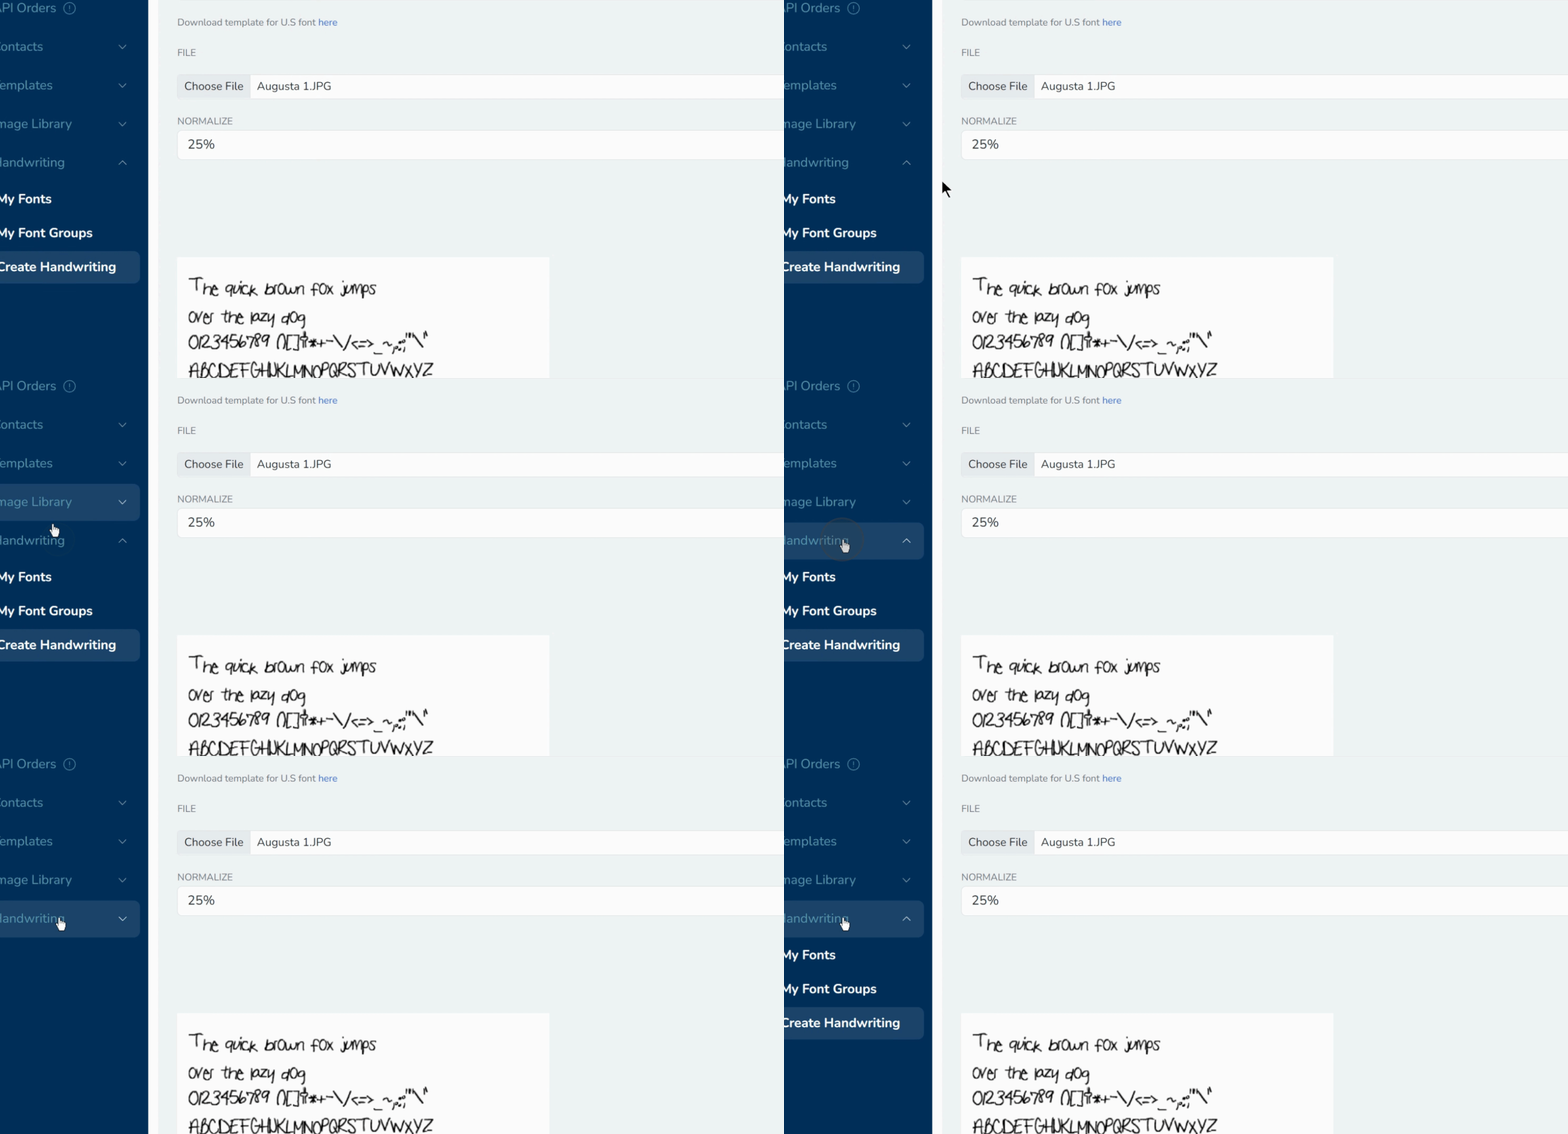
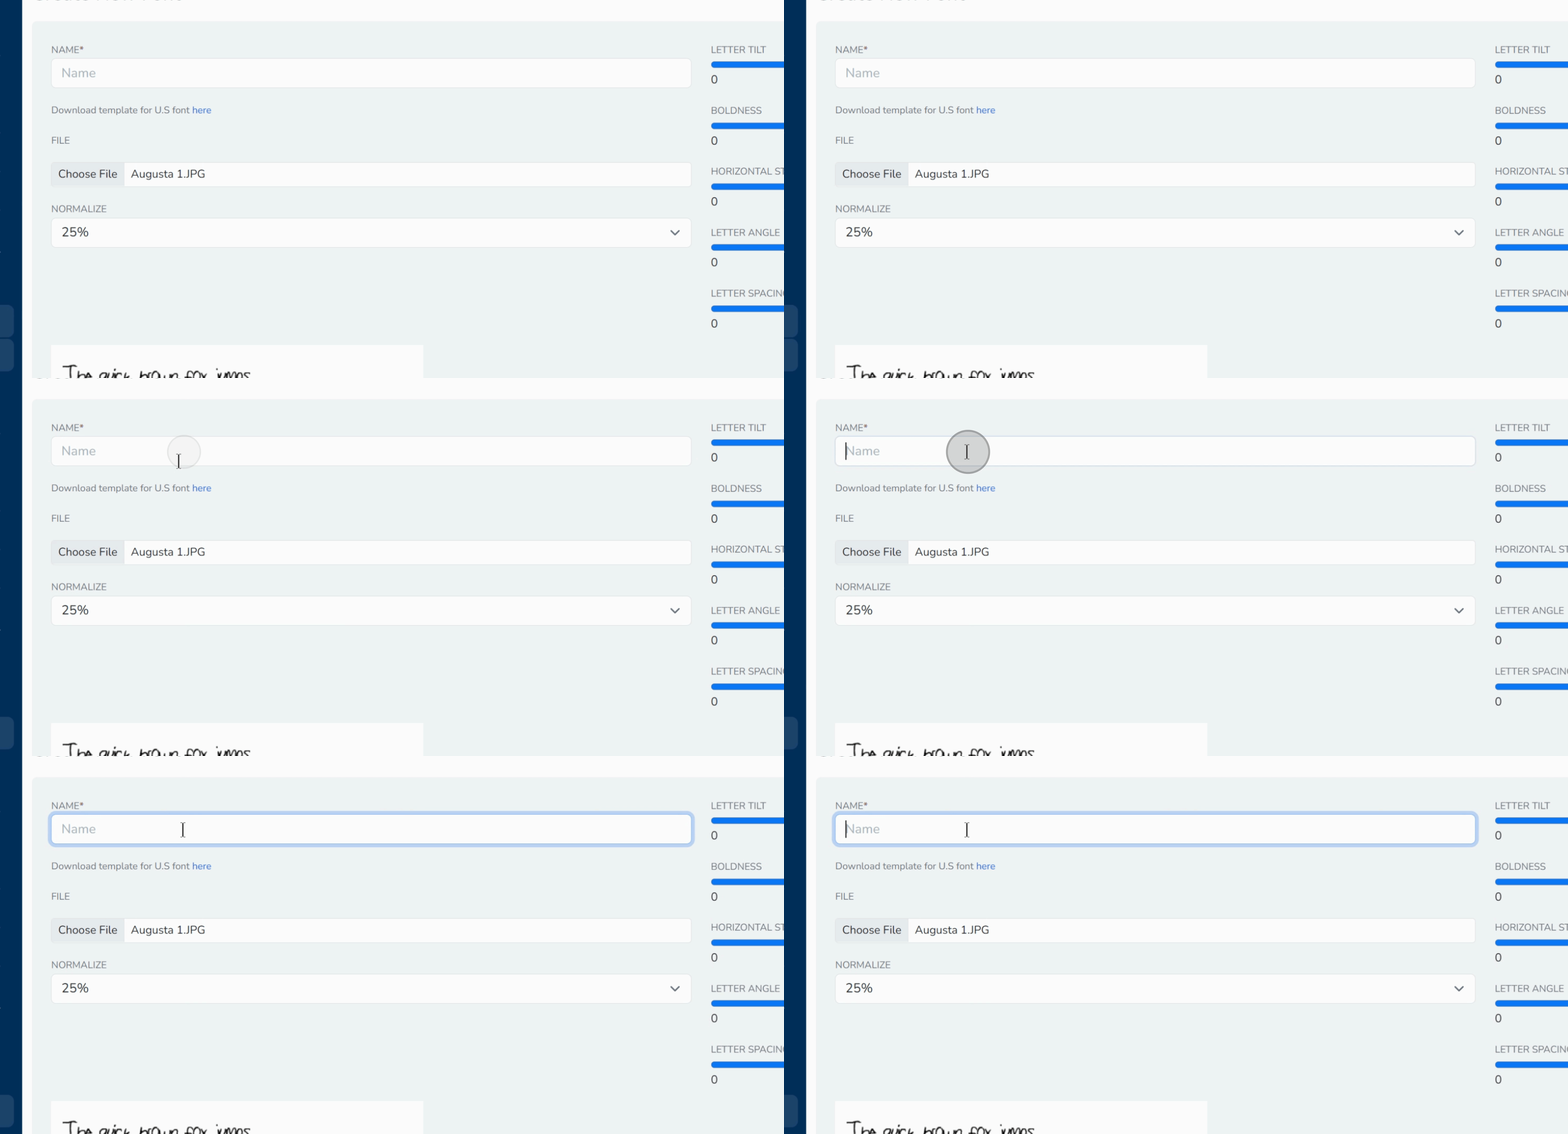
Name your Font.
Select a file to upload your font.
After filling out the form, you can download it from the provided location. Ensure you complete all required fields in the form.
Next, adjust the normalization settings which allow you to control the size and alignment of the letters. For instance, setting it to 75% will result in improved alignment and uniform sizes.
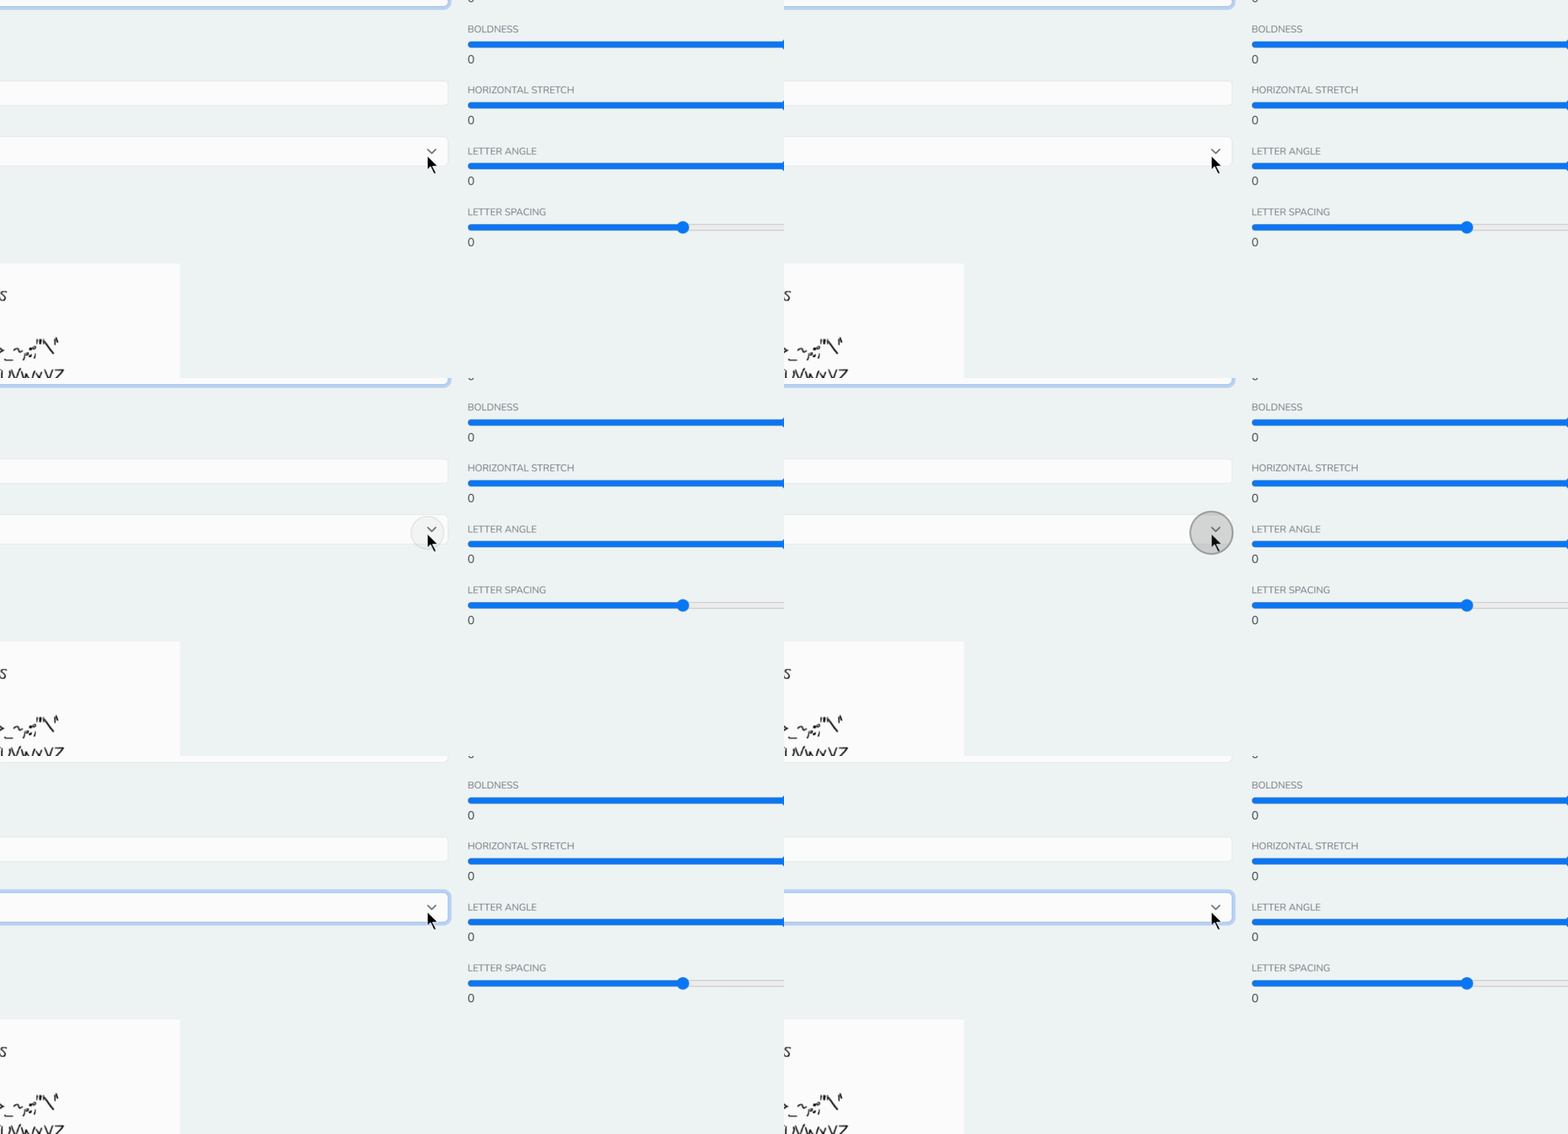
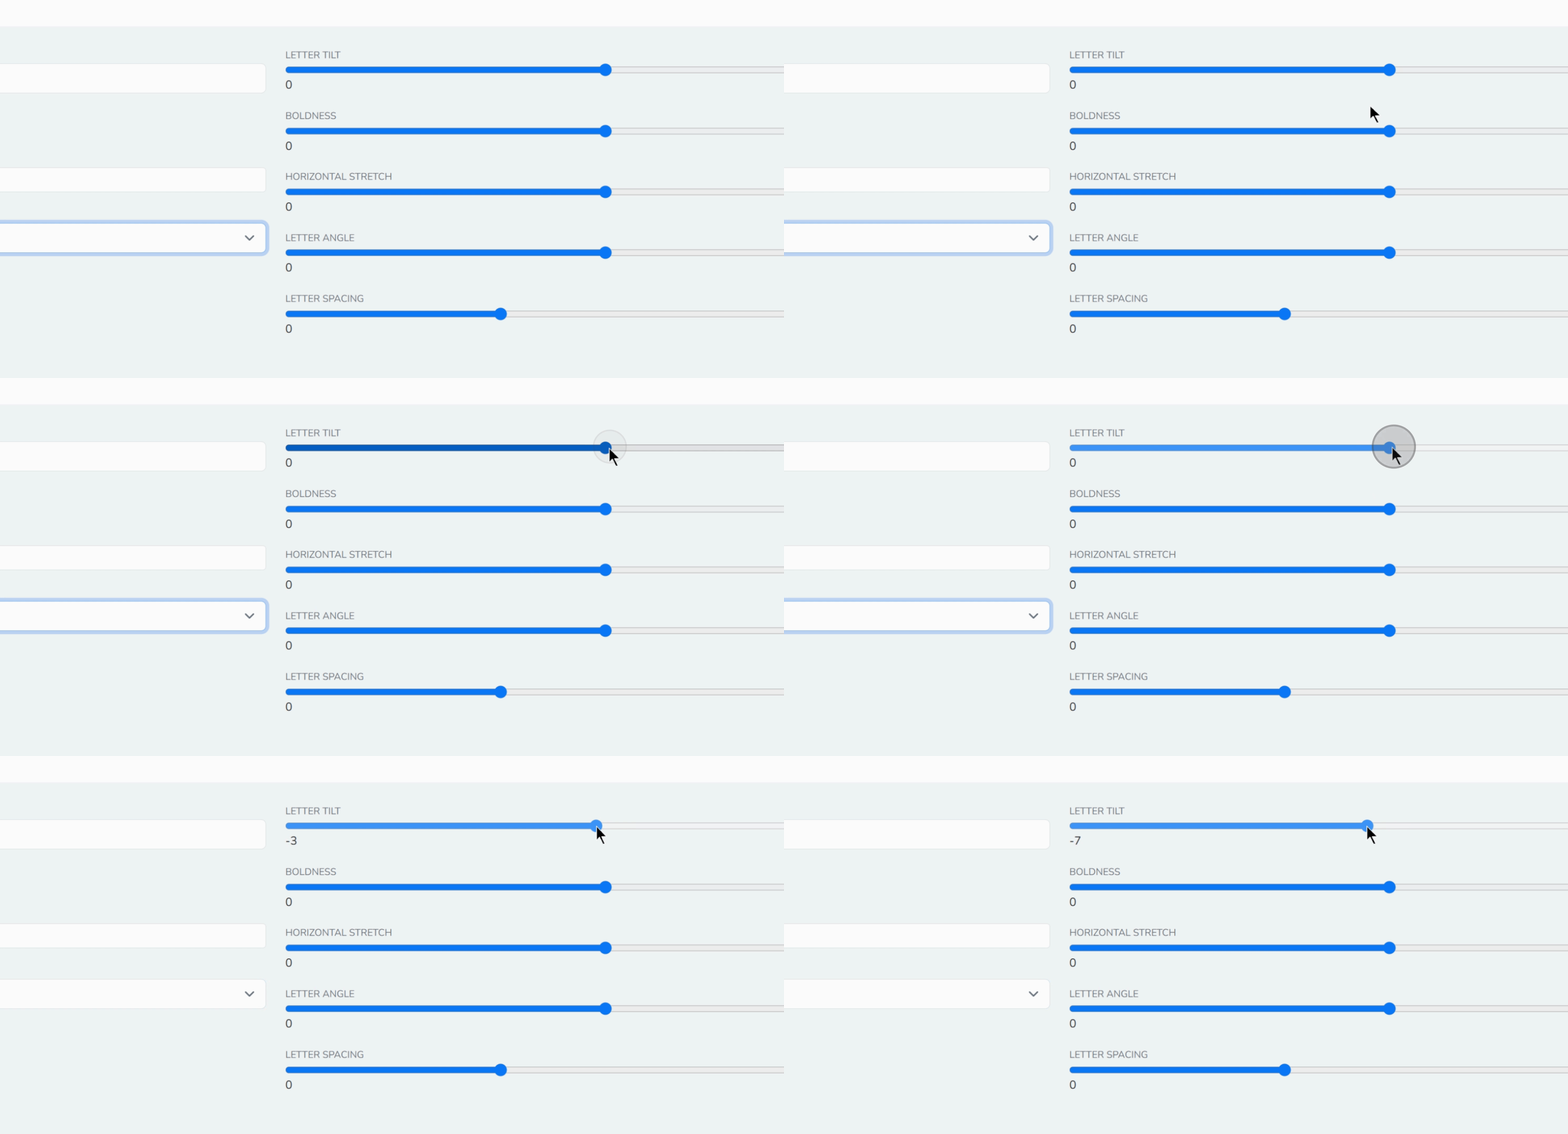
Utilize the sliders to adjust various aspects such as tilt and boldness. Take your time to see changes, and make slight tilts as needed. You can also modify the stretching of letter angles.
Once adjustments are complete, click on Submit to save your font, which will then appear in My Fonts.
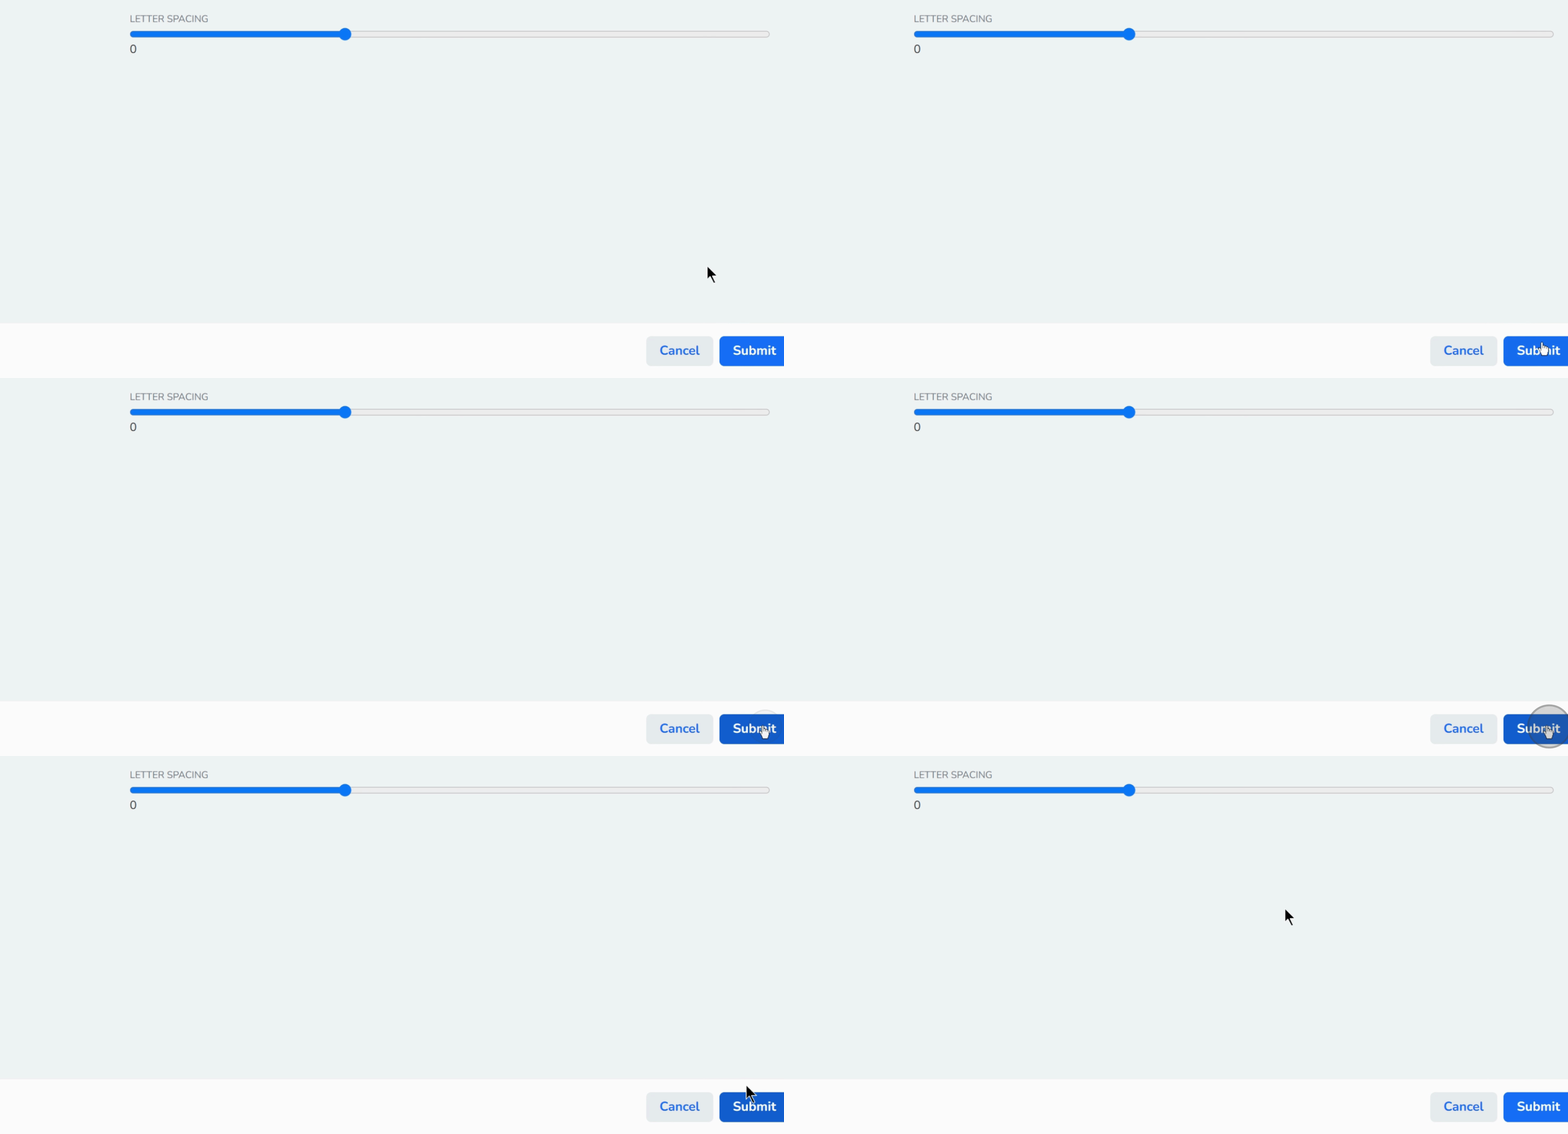
Your newly created font will now be ready for use in any project or template.
If you create multiple versions, consider organizing them into Font Groups. This feature allows you to vary characters within a specific handwriting style, such as test font group handwriting versus calligraphy styles.
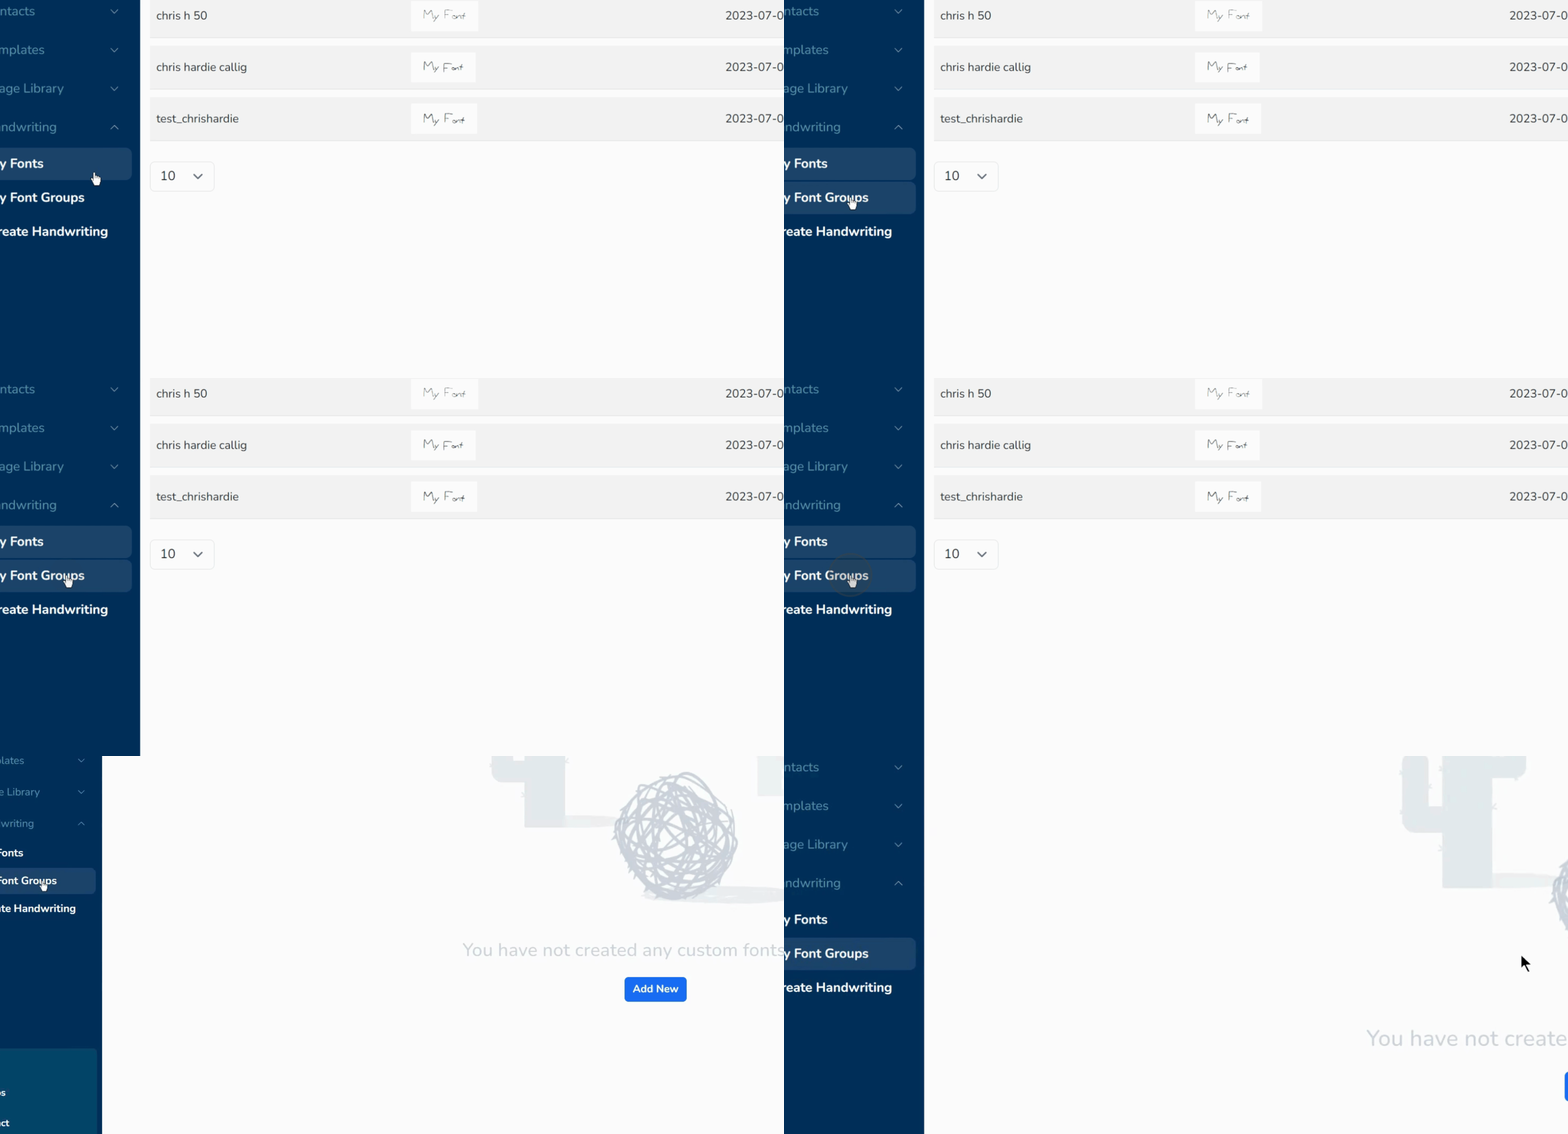
To add fonts to your group, select the desired fonts. Keep in mind that choosing different styles may not yield visually appealing results, yet it allows for character variation within your font group.
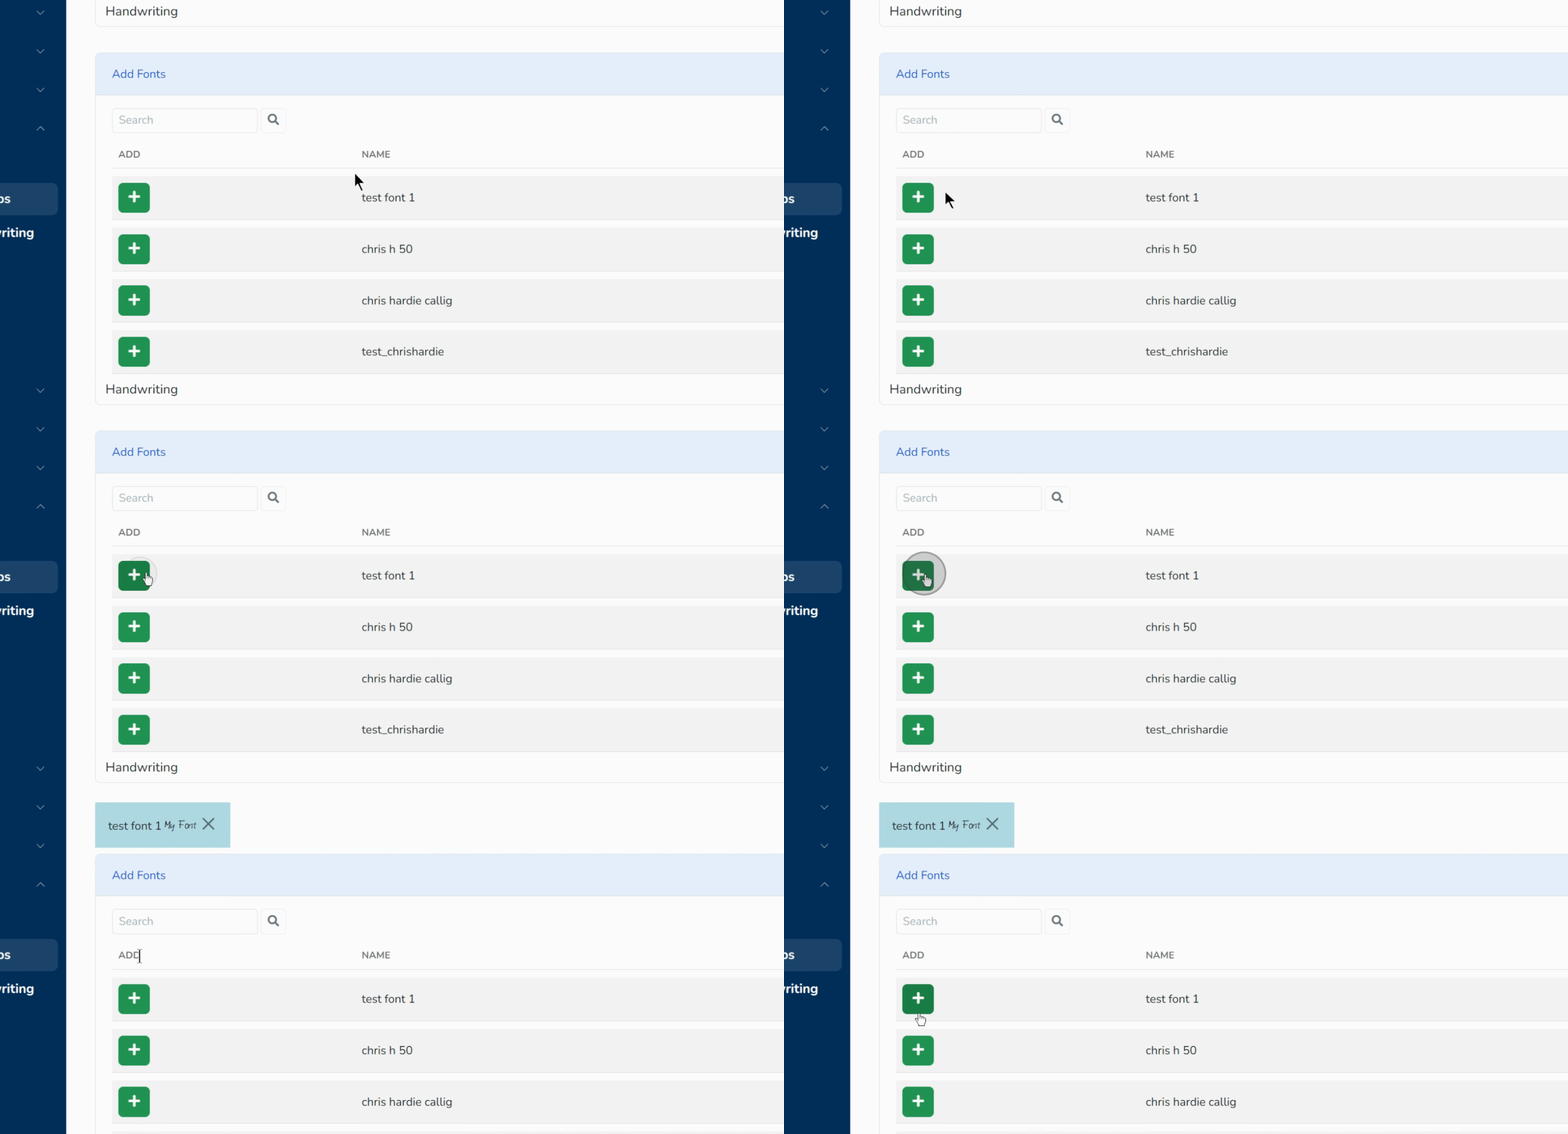
By following these steps, you can successfully create and customize your own handwriting font for various applications.

